How to Use the Image Editor Chat GPT Plugin
Hey everybody! In this video tutorial, I’m going to show you how to use the image editor checkupt plugin to upload and edit images, resize images, crop images, blur images, and much more. Before we dive into the tutorial, let’s take a look at some of the use cases for this plugin.
Use Cases of the Image Editor Plugin
On my website ryhex.com, you can find a full tutorial on the image editor jgpt plugin. Some of the use cases for this plugin include:
- Uploading images to chatgpt and interacting with them
- Resizing images to fit specific dimensions for websites or social media posts
- Cropping images to focus on specific parts or remove unwanted parts
- Blurring images
- Rotating images
- Optimizing images by compressing them
- Creating thumbnails for pictures
- Editing product images for e-commerce websites
If you want to learn more about the best prompts to use with this plugin, check out the article on my website. You can also access a complete database of all currently available chat GPT plugins for free or support the maintenance and updates of the database with a small donation.
Using the Image Editor Chat GPT Plugin
Before you can use the image editor plugin, you need to go through a few steps:
- Make sure you are a jgbt plus subscriber and that plugins are enabled in your chat GPT account
- Click on “New Chat” and select the GPT 4 model and the plugins model
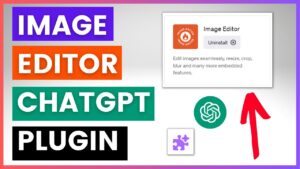
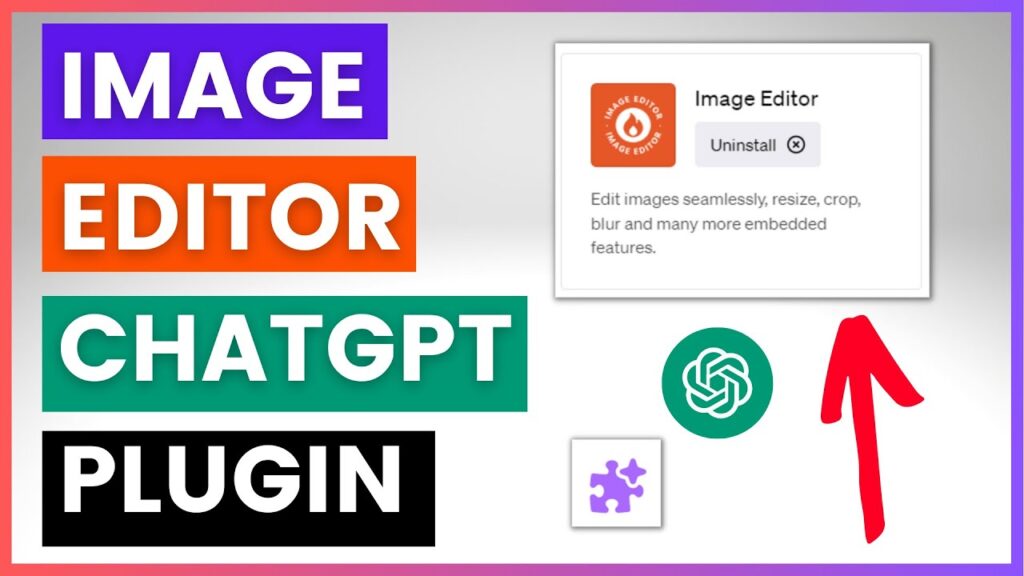
- Install the image editor chat GPT plugin from the plugin store
- Enable the plugin in your account
Now that the plugin is enabled, you can upload images to chat GPT using the plugin. Remember that you can only add URLs to the plugin, not images from your local computer.
If you want to resize an image, for example, you can provide a prompt like “Upload and resize this image” along with the image URL. The plugin will then resize the image to your specifications while maintaining the aspect ratio.
Once the process is complete, you can view or save the resized image. You can also explore other prompts and use cases for the image editor plugin by checking out tutorials on my YouTube channel or visiting my website.
Conclusion
Using the image editor chat GPT plugin can help you enhance and optimize your images for various purposes. By following the steps outlined in this tutorial, you can easily upload, edit, resize, and crop images to meet your needs. For more information and tutorials on chat GPT plugins, don’t hesitate to explore my channel and website. Happy editing!